How to Attach a Private Network to a Router in Neviri
Step-by-step guide to connecting your private network to a router for outbound internet access and cross-subnet routing.
Why you need to do this
In Neviri, a private (tenant) network is isolated by design — the virtual machines on it can talk to each other, but they have no path to the outside world or to other networks. A router is what provides that path.
When you attach a private network to a router, you give its VMs:
- Outbound internet access – Through the router's external gateway and SNAT
- A route to other subnets – Also connected to the same router
- A target for floating IPs – So external traffic can reach a VM
Without this attachment, a private subnet stays walled off. Attaching it is the step that turns an isolated network into a usable, reachable one.
Note: In Neviri you attach a network to a router by attaching one of its subnets. The subnet is the actual interface the router routes for.
Before you start
Make sure you already have:
- A private network with at least one subnet – Created under the Networks tab
- A router – Ideally one with an external gateway set, if you want internet access (created under the Routers tab)
Open Network Management
From the dashboard, go to Network → Network Management.
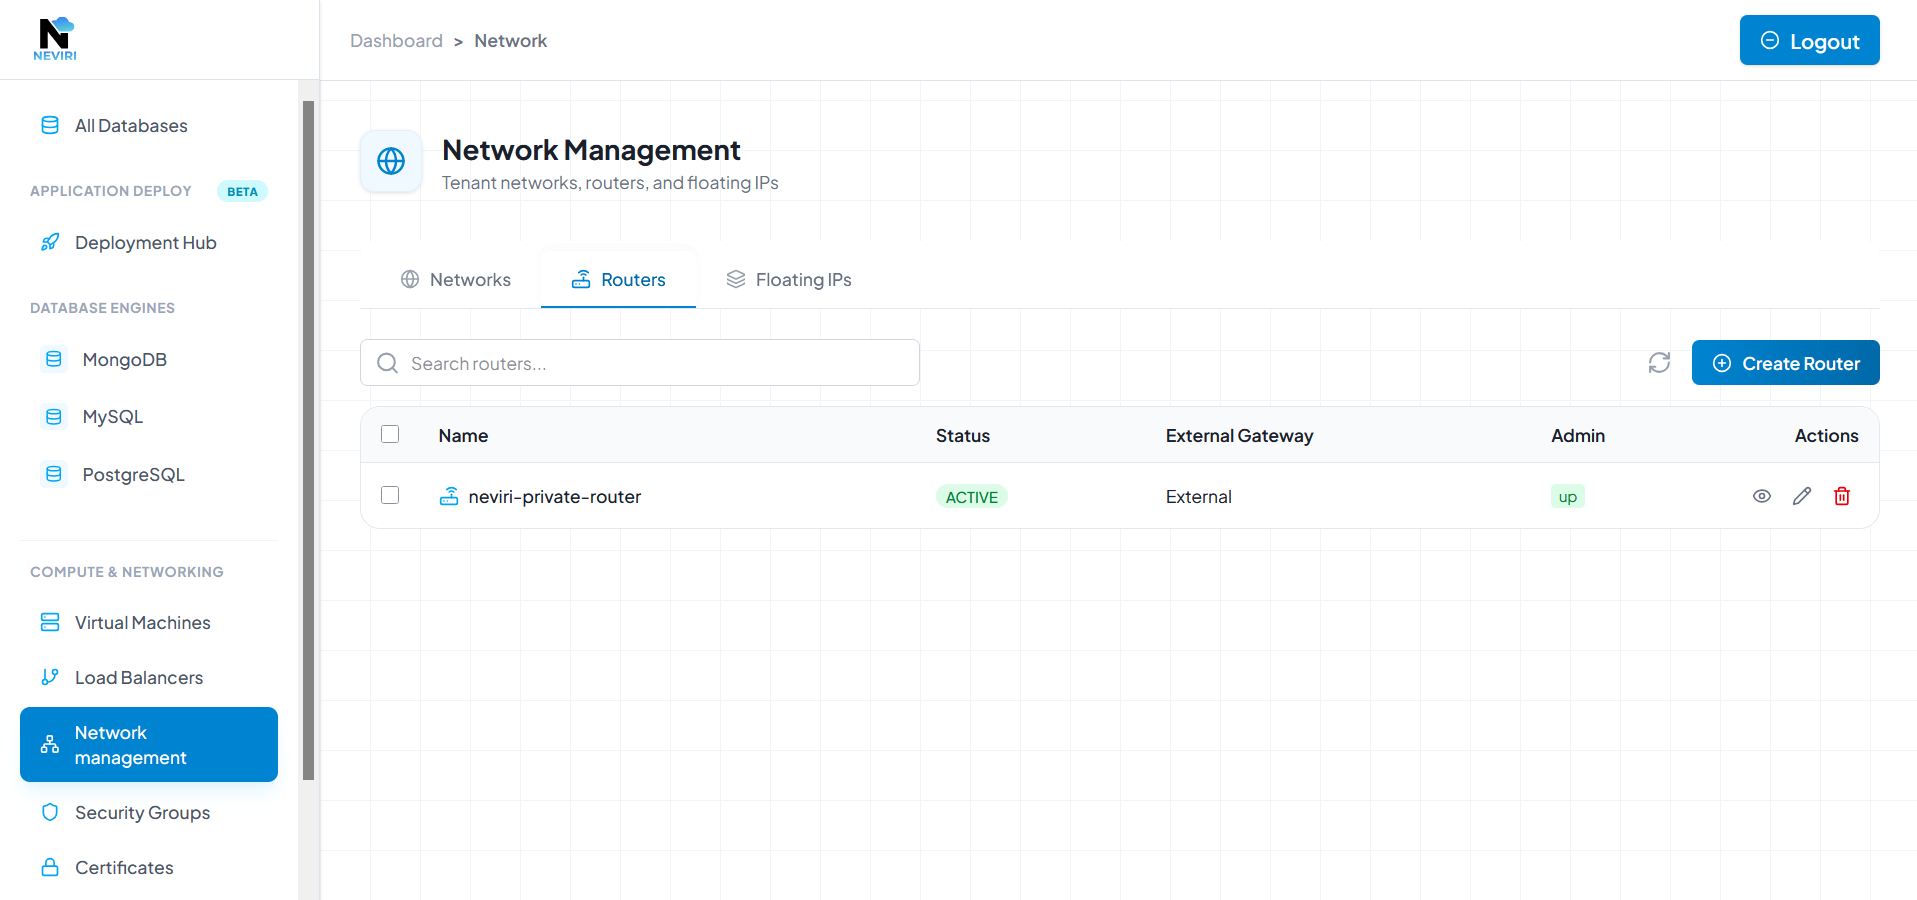
Navigate to Network Management from the dashboard
Switch to the Routers tab
At the top of the page, click the Routers tab.
Open your router
Click the router's row (or the eye / View details icon) to open the Router Detail panel.
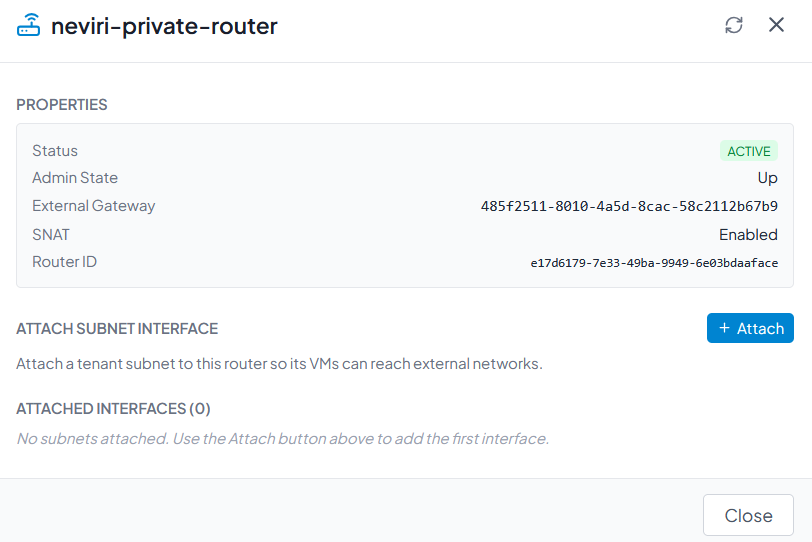
Click to open the Router Detail panel
Start an attach
In the Attach Subnet Interface section, click the Attach button.
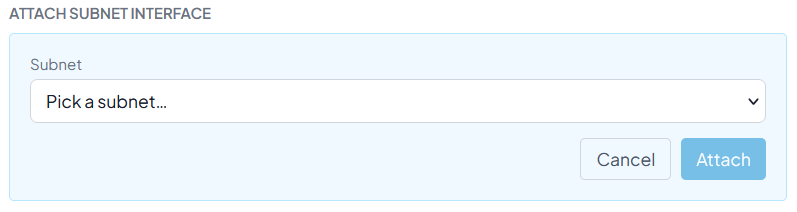
Click the Attach button to begin
Pick the subnet
From the Subnet dropdown, choose the subnet of the private network you want to connect. Each entry shows the subnet name and its CIDR (e.g. internal-net — 10.0.0.0/24).
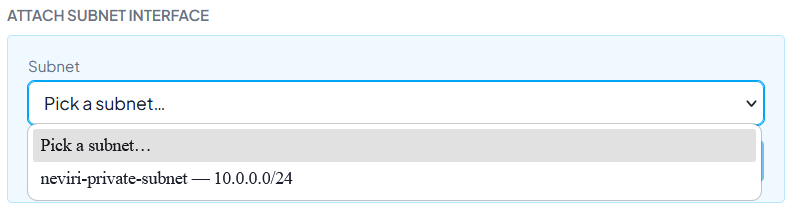
Select the subnet you want to attach
Confirm
Click Attach. Neviri creates the router interface and the new entry appears under Attached Interfaces.
That's it — the subnet's VMs can now route through this router.
Verifying it worked
- The subnet now shows up in the router's Attached Interfaces list.
- It is no longer offered in the Attach dropdown (already-attached subnets are filtered out).
- VMs on that subnet can reach external networks, and you can now associate floating IPs to them.
Detaching later
If you need to remove the connection, open the same router, find the subnet under Attached Interfaces, and click the Unlink icon. The subnet's VMs will lose routing through that router, but you can re-attach it any time.