How to create a Router
Step-by-step guide to creating a router and providing outbound internet access for your private virtual machines on Neviri Cloud.
When you create a Network in the Network Manager, it assigns a private CIDR block (such as 10.0.0.0/24). Because these IP addresses are private, the outside world cannot directly see or communicate with your virtual machines.
Navigate to Network Management
Log in to your Neviri Dashboard and go to Network Management.
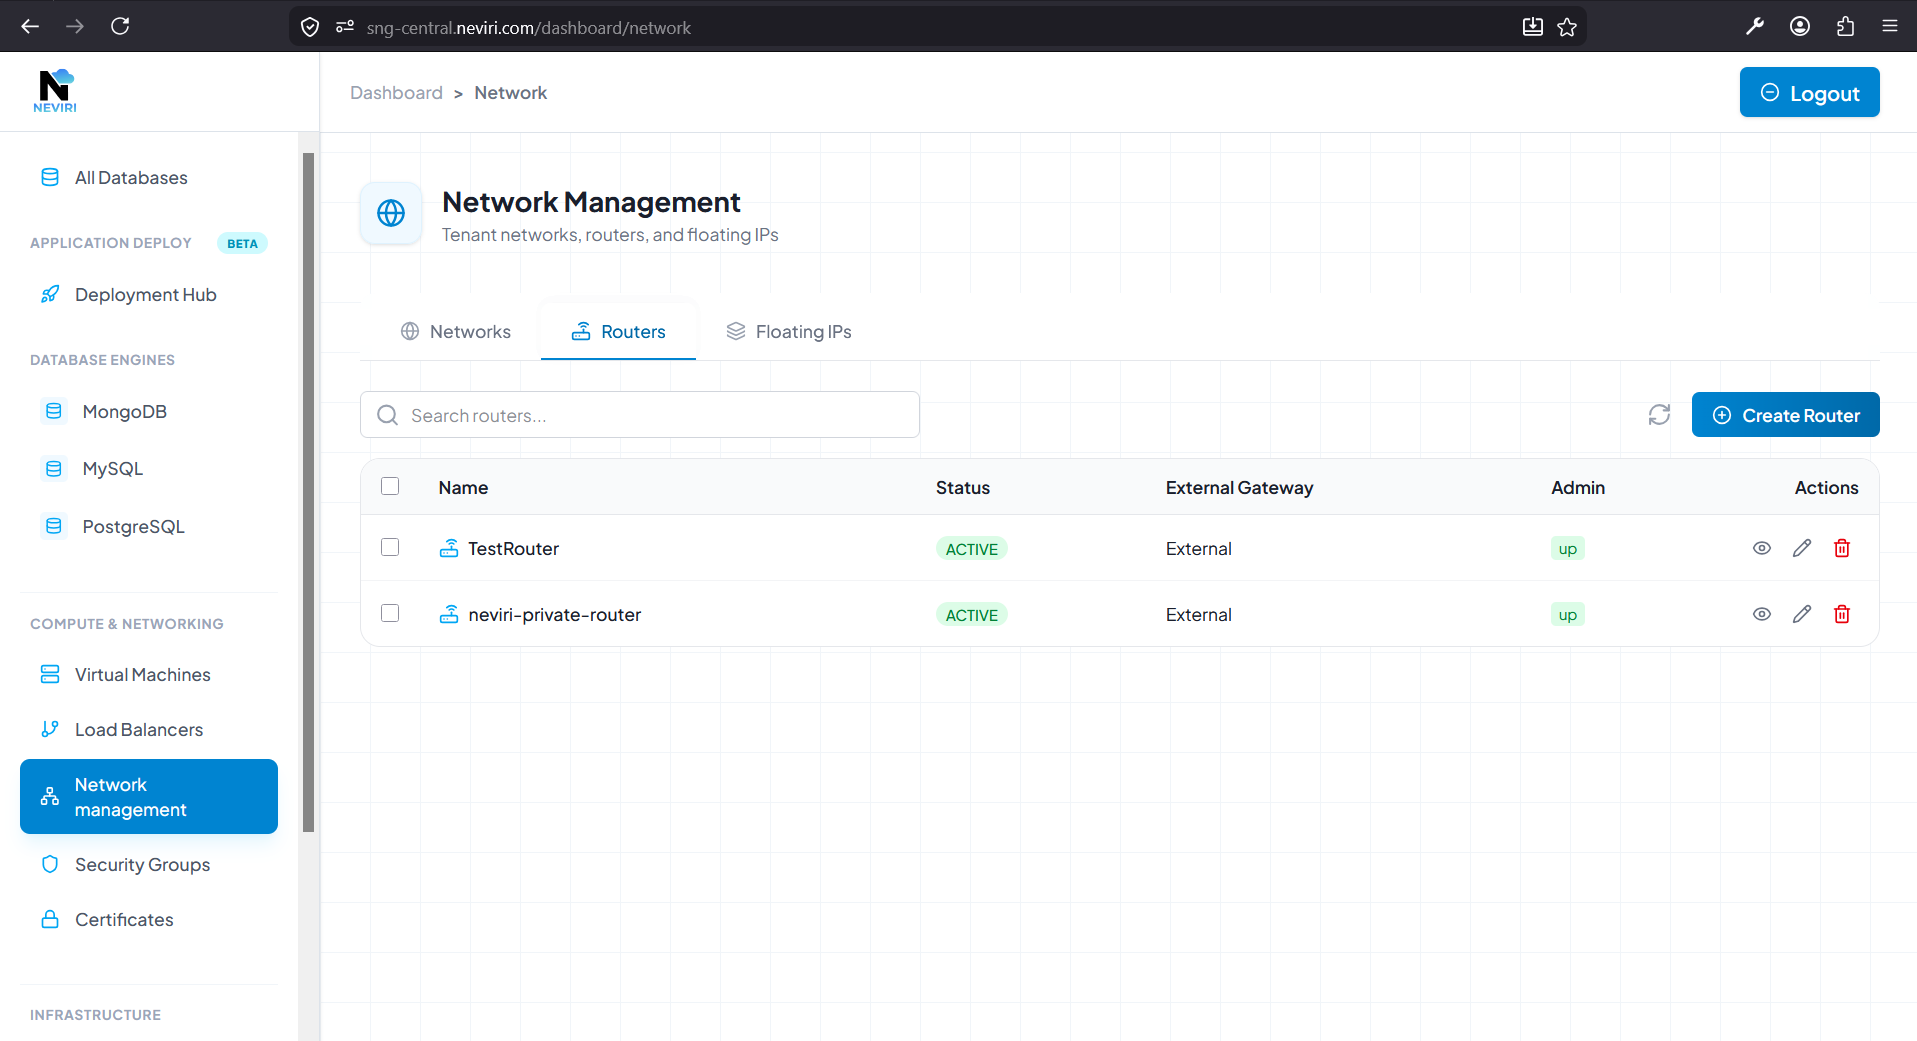
Network Management interface
Click on Create Router
In the Network Management interface, locate and click the Create Router button.
Click Create Router to begin
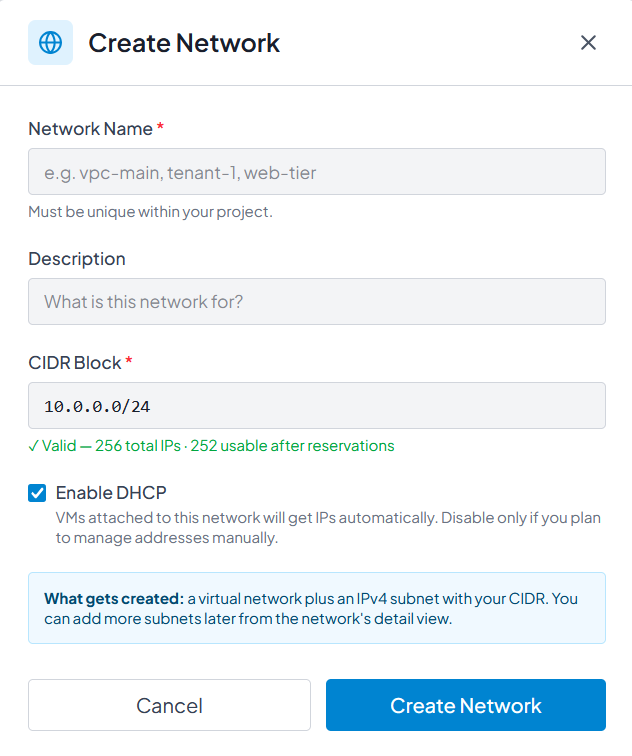
Enter Router Details
Fill in the required information for your router:
- Router Name: Choose a descriptive, unique name.
- Description: (Optional) Add a brief note about the router's purpose.
- CIDR: Enter the CIDR block that matches your existing private network (e.g., 10.0.0.0/24).
⚠️ Note: The router will use this CIDR to interface with your private network and provide outbound internet access via a Public IP assigned to the router's external gateway.
Once the router is created:
- Attach it to your Private Network (via the "Interfaces" tab).
- Assign a Public IP to the router's external gateway.
- Your private VMs can now access the internet through the router's public IP using Source NAT (SNAT).